Free crochet shoulder bag pattern.

Sari silk ribbon chunky crochet bag pattern and it is free!

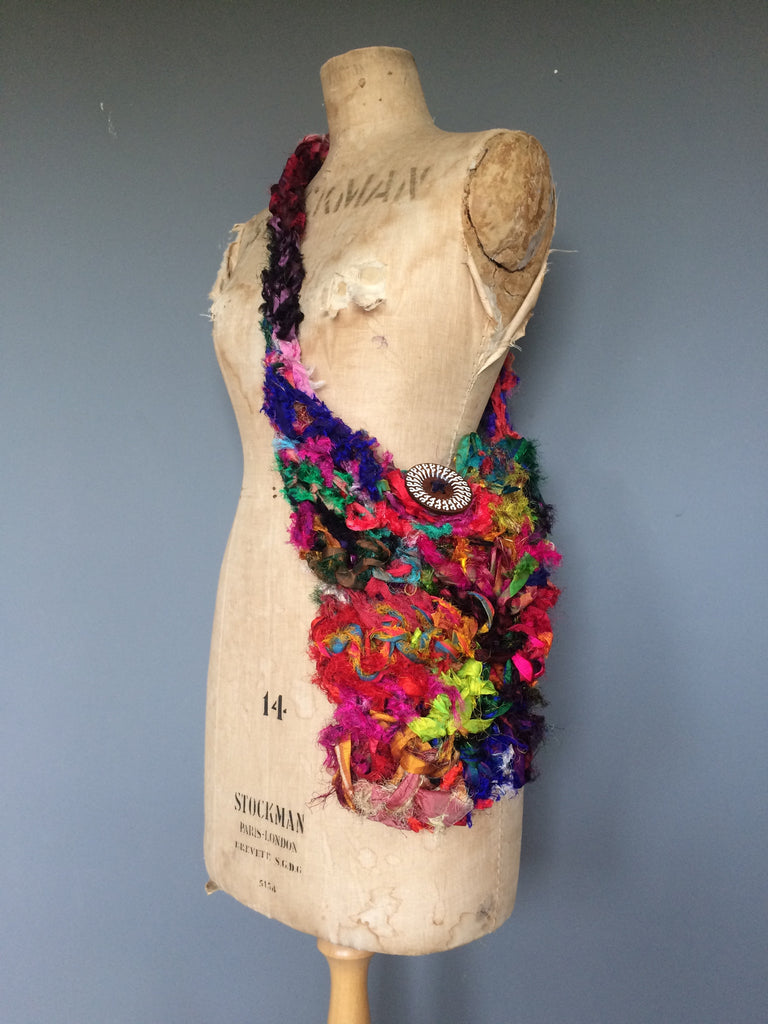
This is a very simple step by step guide to make this chunky big shoulder bag. Just add a big button and some lining! You can even add a little freeform into this crafting endevour if you wish to produce colourful added texture. Purchase a bag of loose end and weave them in wherever you like. If you want to loosen the crochet stitch for a row or two to produce a loose weave in the main body of the bag adds a little individuality to it! See below image. Notice the ends woven into the design, and a bit of loose weave!

You will need a 10mm (UK) crochet hook and work on the back loop only throughout. 400g of sari silk ribbon (colours of your choice)!
Ch 24
Row 1: Single Crochet in back loop second chain from hook to the end (23).
Ch 1, turn.
Row 2 - 28 Single Crochet in back loops, ch 1 and turn.
End.
This will produce a large rectangle. Fold and stitch up side seams. You can either slip stitch each stitch along both sides or sew. If you sew you will need a very large craft needle to thread in the sari silk ribbon.
NOTE: Do not weave in ends just yet!
Turn the bag inside out. This is a little tip. If you turn it inside out you will see that it gives a rounded effect since you are crocheting with chunky yarn it sits really well and you do not see the side seams :-)
STRAPS:
This is where you can use a little freeform and fingers!
Ch 12
Row 1: Single crochet second chain from hook to the end (11st). Ch1. Turn.
Row 2: Single crochet to the end (11st)
End.
NOTE: If you want it to look a little bit more interesting, you can then do a third row and end half way along the strap to add a chunky bit to the strap. See the second bag image. The front part of the strap is wider than the back of the bag.
Take the strap and do not sew in ends. Instead, attach the ends togogether left at each side of the gab and tie them. Take a few strands of sari silk ribbon and add more ties and you will have what looks like tassels where you have attached the strap to the bag!
You can now weave in ends. You don't have to weave in all of them. Leave some flowing and loose (see above cream bag with ends left)
For the loop close you can chain a few stitches (depending on the size of the button) Add a loop to the centre of one side of the bag and a button to the other and voila. A freeform crochet bag made out of recycled sari silk ribbon!

Leave a comment